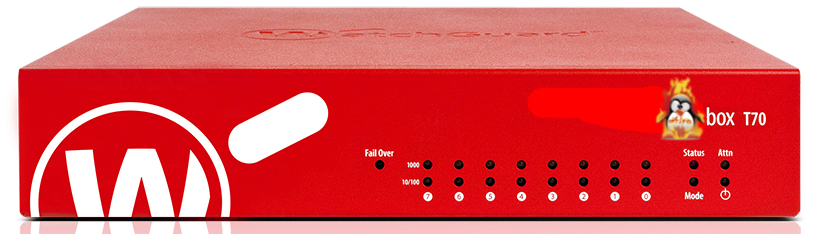
Welcome to another installment of “This Ol’ Router” with your host, Ben. Today we’ll be looking at taking that outdated T70 you’ve kept in your closet without a license. Maybe you even went out to eBay and thought yourself “Hey, a Watchguard for 120 bucks, that sounds cool” only to realize that without a license, there’s not really much you can do with it.
Great news, kids! We can take that old router and turn it into a fully functional and well supported firewall for very little money. Let’s take a look at the software we’ll be installing on this T70.
IPFire is a dedicated firewall that can be installed in any network – from data center down to your home. It is secure, fast and very versatile. Besides from being a stateful inspection firewall it can work as a VPN gateway, analyse data packets with its Intrusion Prevention System (IPS), and comes with many Add-ons that extend its functionality further.
https://www.ipfire.org
Sounds like a nice, solid, dependable software doesn’t it? This installation isn’t as straight forward as the pfSense installation on the M470, but it’s doable and after all of this you’ll have a working firewall with lots of features. We’ll need some tools, but they will be the same tools we used with the M470. We need a mSATA Adapter and a USB Console Cable. You will need a thumb drive too, but only if you go the long way around and don’t use the image I’ll provide you.
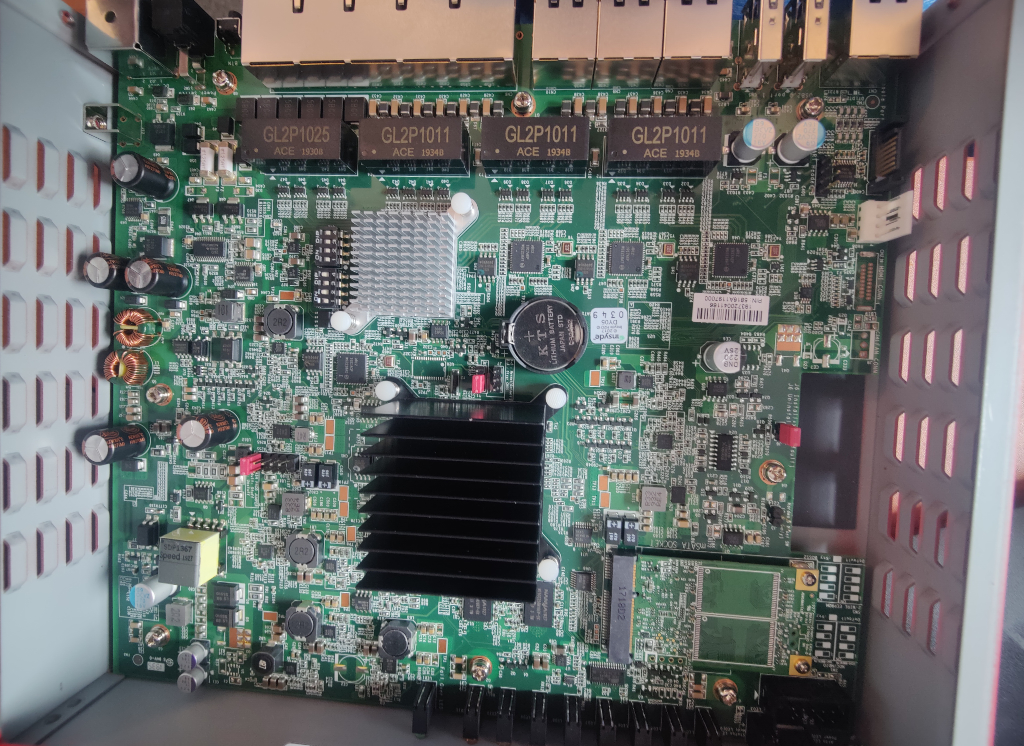
What’s inside?
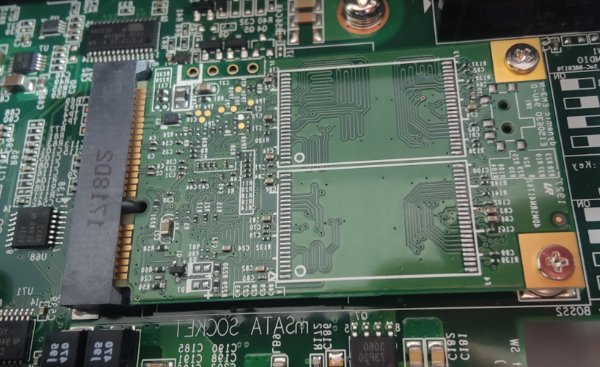
We can see that the board has a mSATA drive that we can wipe and repurpose. A quick google search reveals that the T70 comes with the following specs:
- Processor: Intel N3160 (Intel Celeron N3160 @ 1.60GHz)
- Memory: 2 GB of DDR3 (Onboard, not upgradeable)
- Storage: 16 GB (mSATA, possibly upgradeable, but will suit our needs)
Your Mission: Create a IPFirebox!
One of the downsides to the T70, is you can’t boot to the USB drive (or at least I couldn’t figure it out) and the BIOS is protected with a well guarded password. The first thing I tried was to download the Flash Image from IPFire’s download section, however while I was able to burn it to the mSATA, it didn’t fully boot or at least I couldn’t see it booting since I did have to use a console cable. Perhaps it was booting to the setup menu but I couldn’t see it. Didn’t matter.. wasn’t a viable option.
I couldn’t boot to a USB to installing it from a USB wasn’t an option. I was able to to burn the installation media on to the mSATA, but it wouldn’t install onto the drive it was booting from. However it would install on to a USB thumb drive! However, this did me no good since I couldn’t boot from the USB thumb drive.
I have an idea!! I performed the installation on to the thumb drive from the mSATA drive, knowing it wouldn’t do me any good… yet. After the installation was finished I took the USB thumb drive and imaged it with the help of ImageUSB.
Here’s a good article on how to do that: https://www.makeuseof.com/tag/create-image-usb-drive/
This is why I recommend using a small thumb drive since ImageUSB will create a HUGE image if the thumb drive is HUGE. I chose a 8 gigabyte thumb drive (which is plenty for IPFire). After converting the thumb drive into an image, I took the mSATA drive and plugged it into the computer, then allowed ImageUSB to write the newly created image to the mSATA drive.
To my surprise, once I reinstalled the drive into the Watchguard, it booted normally into the IPFire setup process. I finished the setup process and had a working IPFirebox!
If you’d like to skip that whole process, you can download the image file I made and write it straight to the mSATA. You’ll find the link here.
Instructions
I’m going to assume you didn’t want to create your own image file and instead downloaded the one I created (it’s okay, the manual way is really boring).
- Extract the image file from the 7Z that you downloaded.
- Use the ImageUSB to write the bin file to your mSATA drive that you have connected to your computer
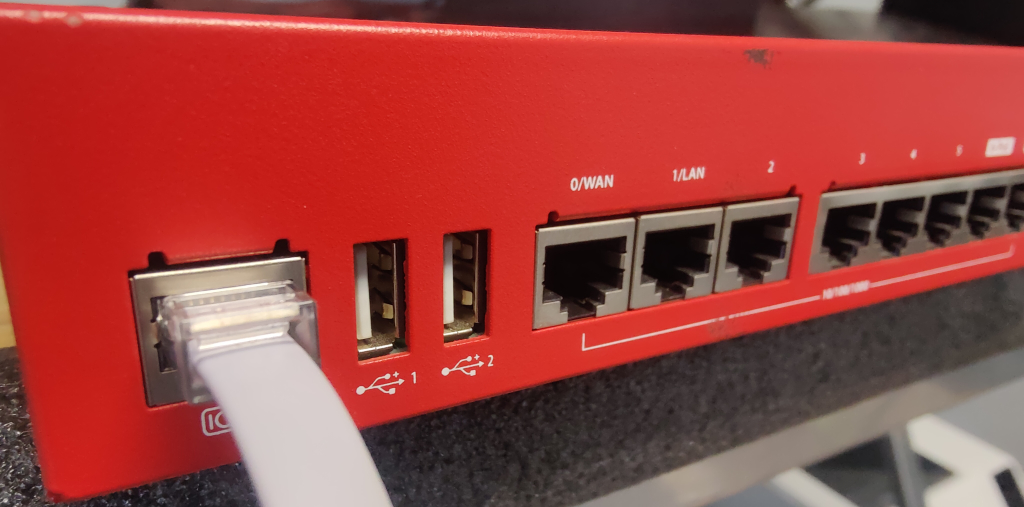
- Reinstall the mSATA drive into the Watchguard Firebox and secure with the screws.
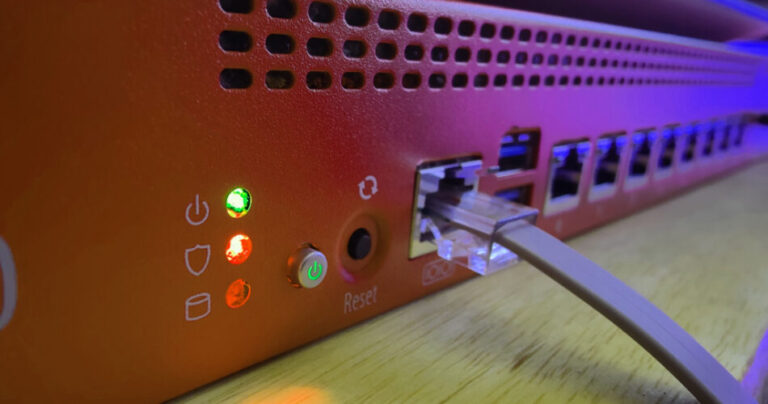
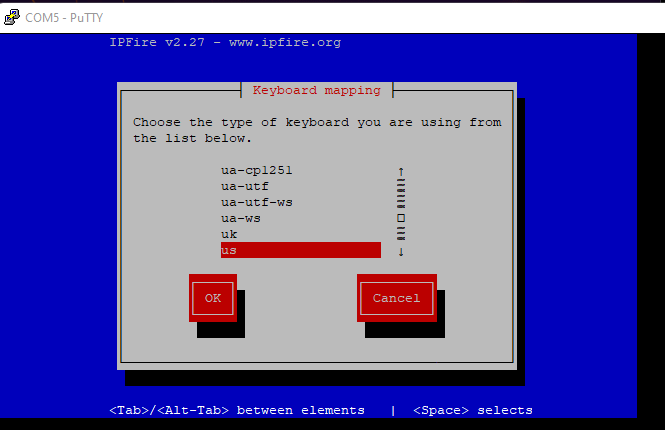
- Once the writing is finished, let’s use our console cable to connect to the Watchguard’s console port.
You’ll use the following settings in PuTTY. Obviously your COM port will have to be determined by you, but can be found in your device manager.
Speed: 115200
Data bits: 8
Stop bits: 1
Parity: None
Flow Control: None
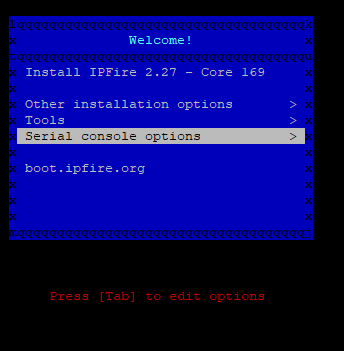
- Now you’ll be able to see the boot up screen and finish the setup wizard.
You can start with this page as we’ve skipped over all of the other steps required to run IPFire.
https://wiki.ipfire.org/installation/step4
That’s it! Holy crap, that was super easy, right!? Well at least it is pretty easy when you already have the image ;).